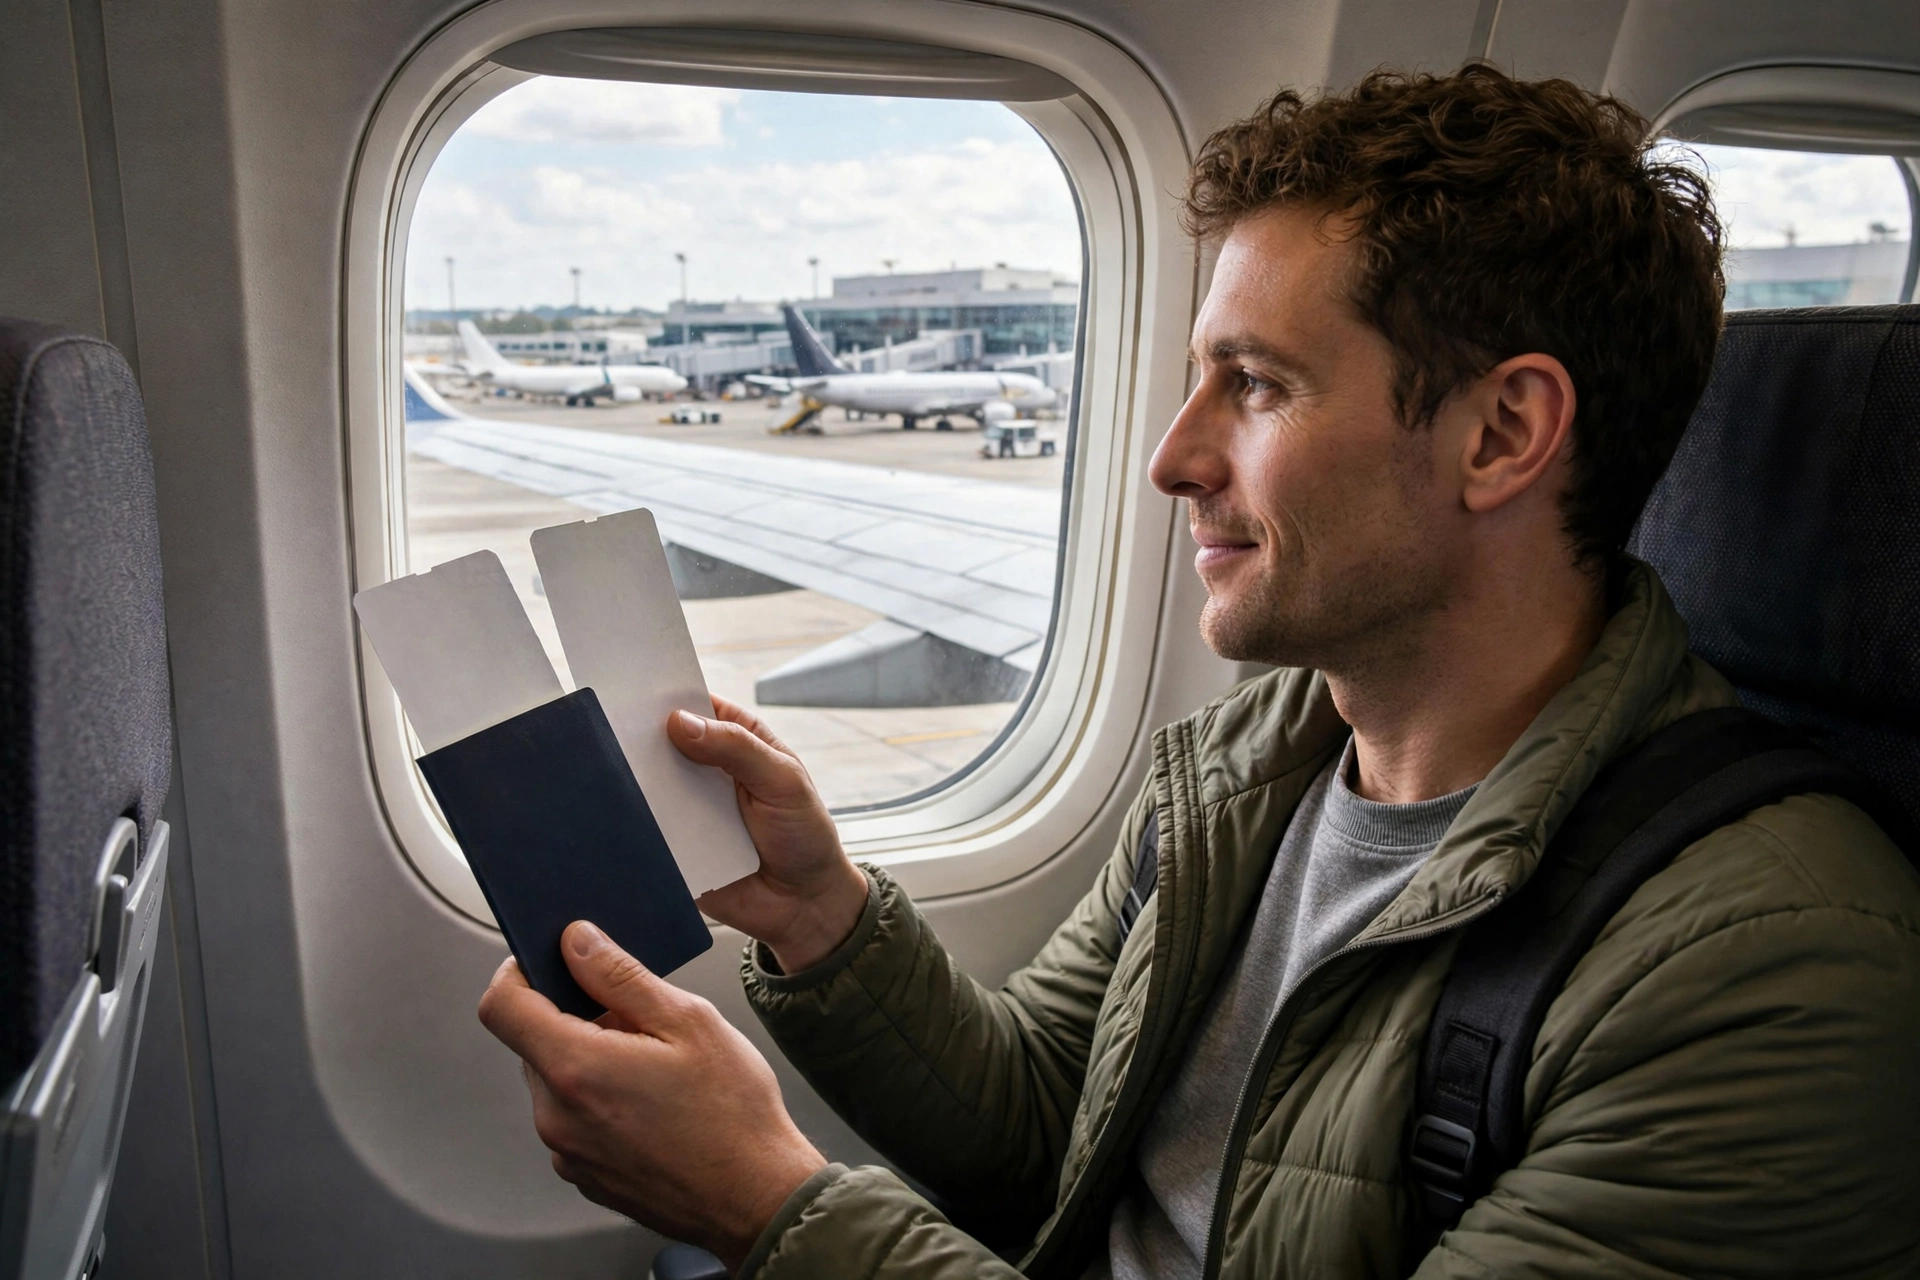
Travel
First-Time Passport Application in India: Documents, Appointment, and Police Verification Explained
<p>Applying for a passport for the first time can feel confusing, mainly because every step depends on the previous one. A small mismatch in documents, a wrong appointment slot, or a missed police verification visit can delay the process by weeks. The good news is that the process itself is straightforward once you understand the order: register online, fill the form, pay the fee, visit the Passport Seva Kendra, and complete police verification.</p><p>This guide explains each stage in plain language, with the documents most first-time applicants need and the common delays to avoid. Passport rules, fees, and document lists can change, so always cross-check the latest details on the official Passport Seva portal before you apply.</p><h2>Step 1: Register and fill the application carefully</h2><p>Start on the official Passport Seva website and create an account with your own email address and mobile number. Choose the option for a fresh passport, then fill the form slowly. Your name, date of birth, address, and parents' details must match your supporting documents exactly. Even a difference in spelling between your Aadhaar card and your birth certificate can cause questions later.</p><p>Select the correct passport type and booklet size. Most first-time adult applicants choose an ordinary passport, while children have a separate category with shorter validity. If you are unsure about the Tatkaal option, remember that it is meant for urgent travel and has stricter document checks. For most people, the normal route is simpler and less stressful.</p><h2>Step 2: Documents you should keep ready</h2><p>Proof of date of birth is usually required, and documents such as a birth certificate, school leaving certificate, or other accepted records may be used depending on your date of birth and category. Proof of present address is also essential, and documents such as Aadhaar, voter ID, utility bills, rent agreements, or bank statements are commonly accepted, subject to current rules. Carry originals along with self-attested photocopies.</p><p>Check the names and addresses on every document before your appointment. If you have recently moved, make sure your present address proof is current and consistent. If your name has changed after marriage or for another reason, carry the relevant supporting document. Arranging these papers a week before the appointment is far better than discovering a mismatch at the counter.</p><h2>Step 3: Pay the fee and book your appointment</h2><p>After submitting the form, pay the application fee online and book an appointment at your nearest Passport Seva Kendra or Post Office Passport Seva Kendra. Choose a date and time you can definitely attend, because rescheduling is allowed only a limited number of times. Take a printout or a clear digital copy of the appointment confirmation and the application reference number.</p><p>On the appointment day, arrive a little early with all originals, photocopies, and the appointment receipt. At the centre, your documents are checked, your photograph and fingerprints are taken, and your application is processed. Keep the acknowledgement receipt safely, because it contains the file number you will need to track your application online.</p><h2>Step 4: Police verification and what to expect</h2><p>After your visit, police verification is usually initiated for your present address. In many cases, a police officer visits your home or asks you to visit the local police station with documents. Keep your original address proof, identity proof, and the acknowledgement receipt ready. Answer questions honestly and consistently, and make sure someone at home knows about the visit if you are often away.</p><p>Verification can take different amounts of time depending on your city, workload, and whether your address history is simple or complex. If you have lived at your present address for a short time, the process may include checks at a previous address as well. Respond promptly to any call or message from the police station, and do not ignore a verification request, because a missed visit is a common cause of delay.</p><h2>Common delays and how to avoid them</h2><p>The most common delay is a document mismatch, such as different spellings, an old address, or a missing proof. The second is missing the appointment or the police visit. The third is an incomplete application, for example leaving a previous address blank when it was required. Each of these can be avoided by checking the form twice and keeping a folder with all documents in one place.</p><p>If your application shows a status such as pending verification or under review, check the online status regularly and follow any instructions given there. If a document is requested, submit it through the official channel as soon as possible. Avoid paying any agent who promises faster approval, because the process follows a fixed verification system and unofficial shortcuts can create bigger problems.</p><h2>FAQ</h2><h3>How long does a first-time passport usually take?</h3><p>The time varies by city, verification workload, and whether documents are complete. Many applicants receive their passport within a few weeks after successful verification, but delays can happen during busy periods or if additional checks are needed. Track your application with the file number and respond quickly to any request for documents.</p><h3>Do I need to visit the Passport Seva Kendra in person?</h3><p>Yes, first-time applicants generally need to visit in person for document verification, photograph, and biometrics. Children also have their own process, and a parent or guardian usually accompanies them. Check the appointment instructions for any special requirements for minors before the visit.</p><h3>What happens if police verification fails?</h3><p>If verification cannot be completed, the application may be put on hold or sent back for clarification. Common reasons include not being available at the given address or a mismatch in documents. Contact the passport office through official channels, understand the exact reason, and provide the correct documents or information promptly.</p><h3>Can I travel while my passport application is pending?</h3><p>You cannot travel internationally without a valid passport in hand, so do not book non-refundable tickets until the passport is issued. If you have urgent travel, check whether the official process offers any faster route and what extra documents it requires. Plan your travel dates with enough buffer time after the expected delivery.</p><h2>Conclusion</h2><p>A first-time passport application rewards preparation more than speed. Fill the form carefully, keep documents consistent, attend your appointment and police verification on time, and track your file number. If you do these steps in order, the process becomes a routine task rather than a stressful one, and your passport will be ready when your travel plans are.</p>
Share this article
About the Author
Related Articles

Travel
Planning Your First National Park Safari in India: Parks, Seasons, and Booking Mistakes to Avoid
Creator

Travel
Planning a Family Road Trip in India: Routes, Budget, and a Safety Checklist That Works
Creator
Travel
रेलवे में सीनियर सिटीजन को मिलने वाली सुविधाएं और रियायतें: 2026 की पूरी जानकारी
Creator

Travel
Planning a Budget Winter Train Trip Across Rajasthan: Routes, Stays, and Real Costs
Creator